Do you need a graphic? A banner? Think you have to pay for one? Au contraire! I’m going to show you a little secret. Got photoshop?or PSP? Good. (I used PSP X for this tut)
Step one:
Open your graphics program. Now open a canvas of 468×60.

Step two:
Click on that empty layer. Click on your little paint bucket tool, and fill it the layer with whatever color you’d like. Say a nice navy blue (#07013c).

Step three: Add some bling. First, add a new layer. To this you can add a filter (say, Xero Sparkles) or drop your bling across it. Play with the opacity until you’re happy. For instance I didn’t like the opacity of the sparkles the first time out so I lowered it to 36, so it wouldn’t overwhelm the text.

Maybe add a pretty object:

You might want to add a little Eye Candy to the object like I did, with Eye Candy 4o00’s Gradient Glow. (I used the color #01313d, Glow width 12.79 and soft corners set at 16 with an opacity of 53) There’s one caveat with Gradient Glow though. To me, sometimes, no matter what opacity you use or what color the result is just muddy, and when that happens, I hate it. So do what you like best here.
Now you can add your text: I always make the text as a selection; that way, if you’d like to add some texture to it, it’s easy to do. This time, I just stuck with it as is, promote selection to layer, then Select None. The text you put on it is up to you. I did my name on this one, but you can do a tagline, or what-have-you. Add a Drop Shadow (I used Vertical=”1″ horizontal=”-1″ opacity=100, blur=396 color=black)

Step four: If you want to you can add a border. I warn you though, once you do, all your layers will be closed permanently and you won’t be able to make a change. If you think you might change something later, save a copy with all layers open. Then add your borders to just one or the other of the copies. Now, most banner exchanges have guidelines about sizes so this is where it gets tricky. Our starting banner size, remember, was 468×60. Add a 1 pixel border and things grow. To add the border click “image-> “Add Borders”, then on the menu you get make sure the Symmetric box is clicked and type 1 in one of the “size” boxes. With Symmetric checked, it should auto-fill in all the others.

Pick a color, there’s a trick to this. Pick a color that you didn’t use in your banner. So, say for mine, I’d pick yellow.Click Okay. and Okay again. Viola! Yellow border.

Step 5: Pull out your little magic wand tool and click that border. This is a little tricky sometimes so if it’s easier magnify the heck out of the picture. Don’t worry about how pixelated this looks. It’s just so you can select the border. No one’s going to see it like this. Now click the border to select. It still might not be magnified large enough. That’s fine, just magnify it more until you can get your little bucket in there. I’ve had to magnify them to 300 sometimes.

Here’s the fun part. Pick a pattern you like, and pour it into the selected border. For instance you can use tiger stripes or gold or whatever pattern you like best.
Merge all layers, export as a jpg and save. You might have to resize it to force it back to 458×60 but that’s not hard. Just do image->resize and type in your desired numbers. Save export as jpg and you’re good to go.
If you want to noodle with the banner again, make sure you unmerge those layers before you save.
Your final result will look something like this:

or live on the site:


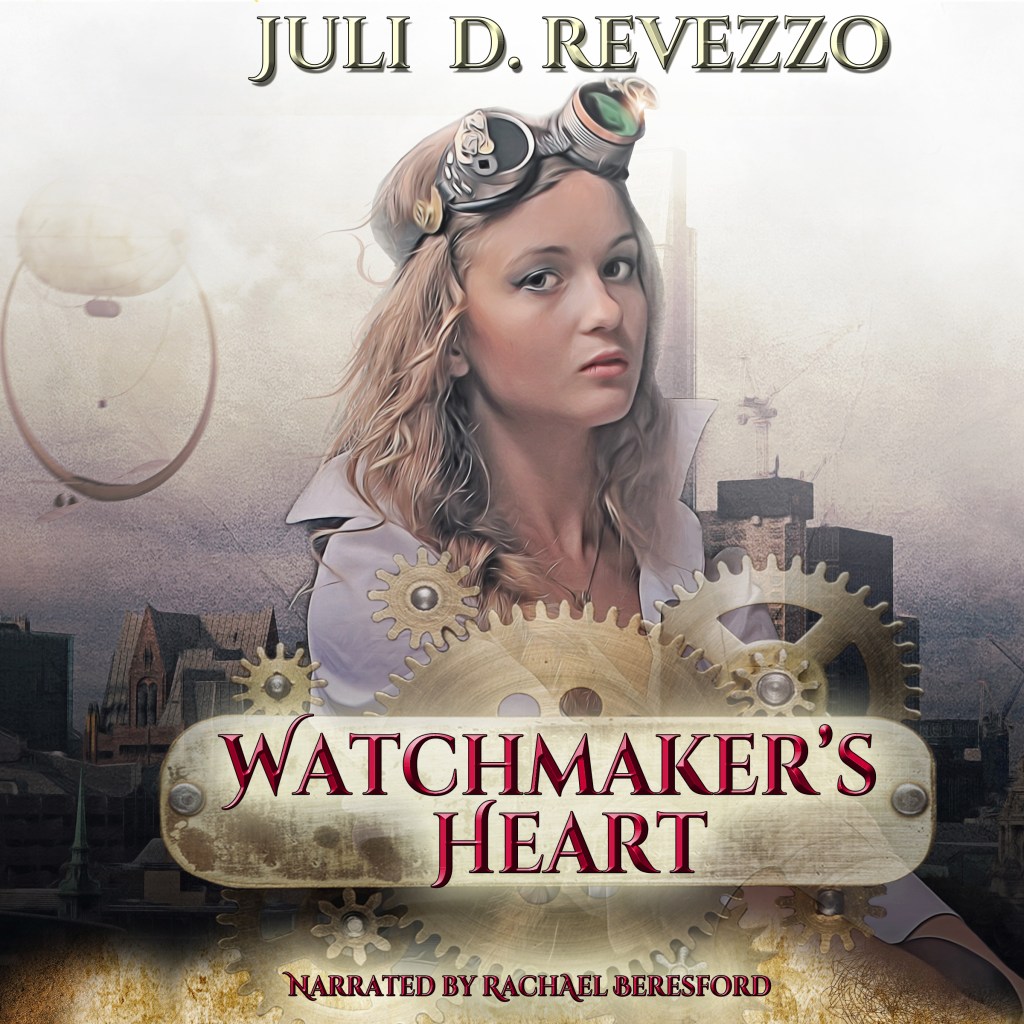
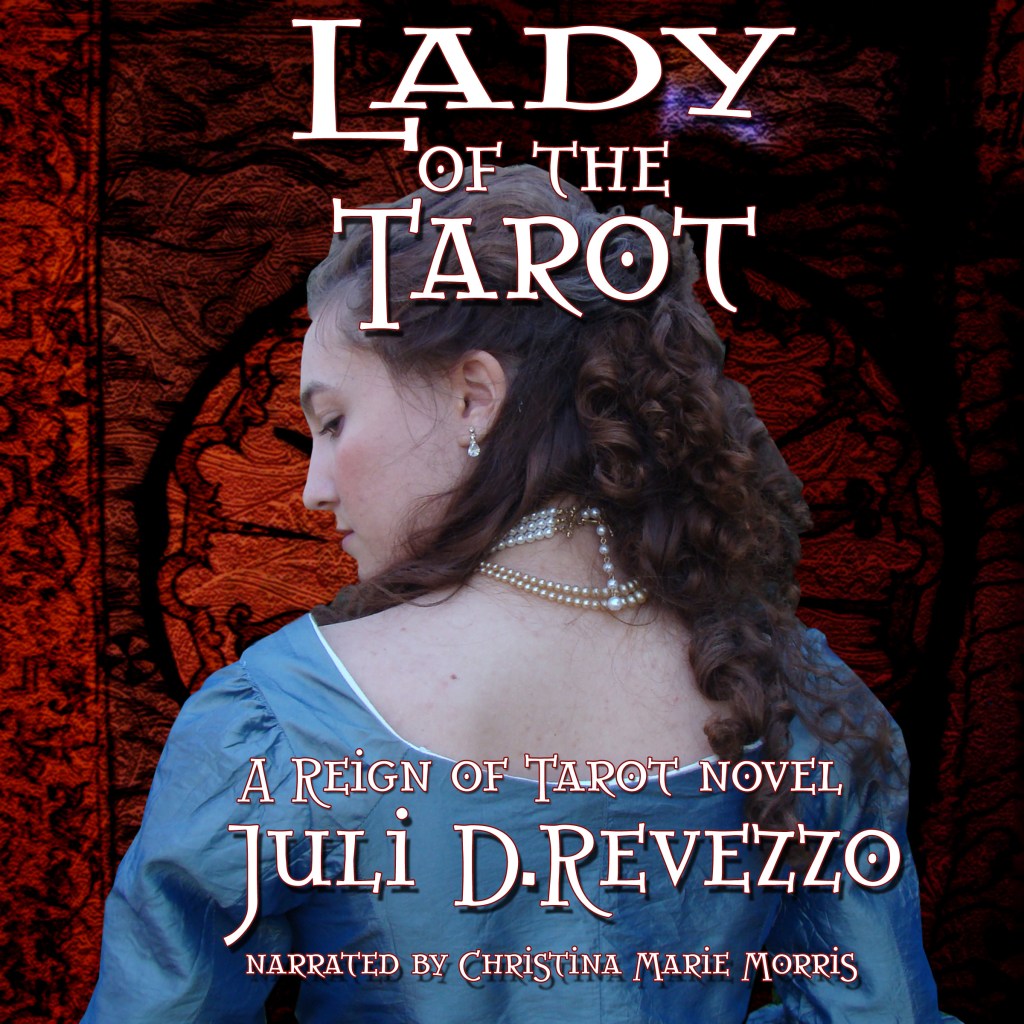
This. You can add whatever kind of pictures you want (do mind copyright however), cover art you may have or what have you to your banner to personalize it.
See, now? That wasn’t so hard, was it? Now tell me, is there any reason for you to pay someone to do it for you, when you can do it yourself? >:)


